MP3 W2IN Last updated: 2026-07-05

This documentation explains step by step how to assemble and program your MP3 Player. Time required (excluding printing time): 2-3 hours.
For all analog enthusiasts: the instructions will be also available as a PDF file for printing very soon.

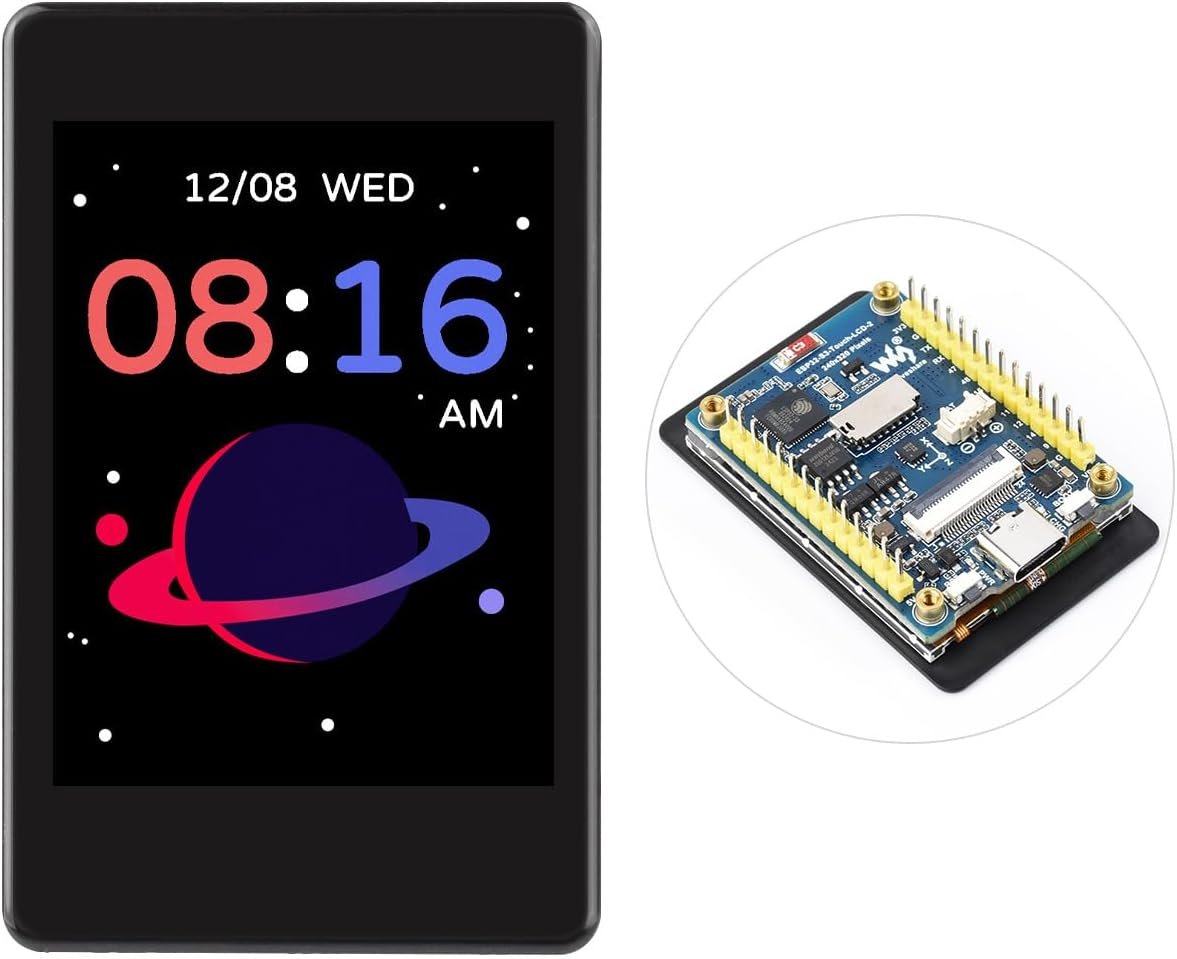
1. Partlist

You can use Amazon to order most components easily including te scres. Aliexpress is also a good option for the parts, which can significantly reduce material costsbut time consuming.
The printing files for the housing can be downloaded from makerworld.com

1 x Waveshare ESP32-S3 2in

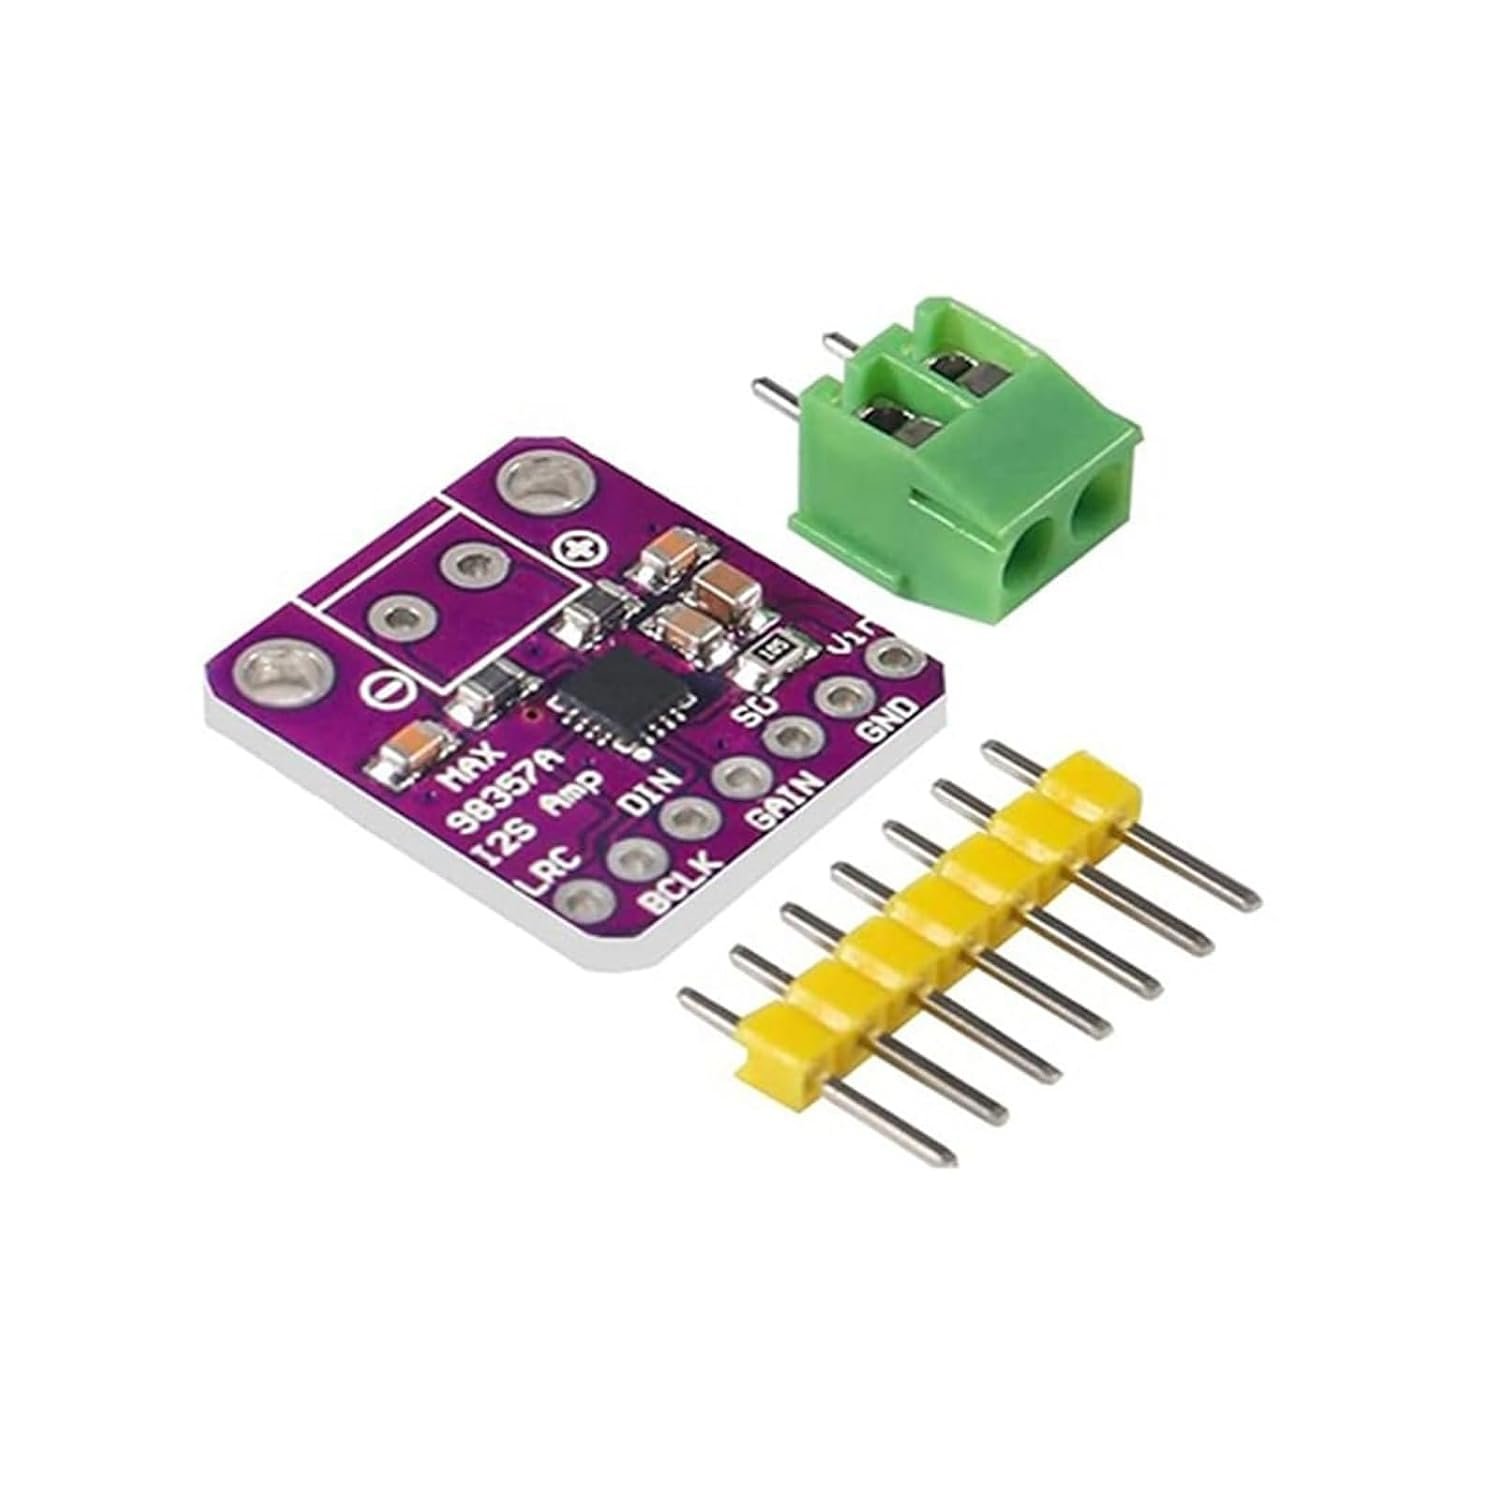
1 x MAX98357 I2S DAC

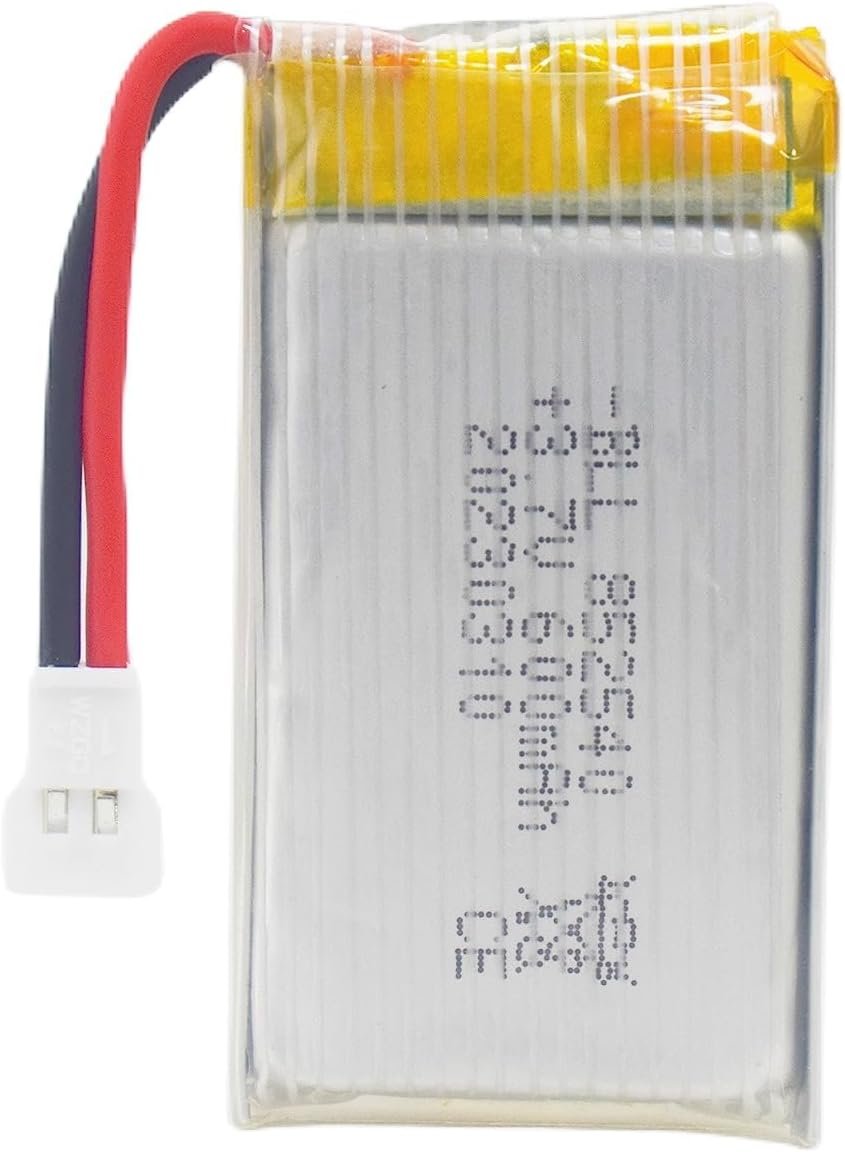
1 x Litium Battery 3.7V

1 x Pinmoroni OnOff SHIM

1 x Mico-SD card

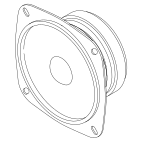
1 x Visatron FR8 TA, 10W, 4Ω

Speaker cable (≈0,5 mm2)

Cable (≈0,14 mm2)

1 x LED (5 mm)

4 x M3 / 5 mm

4 x M3 / 8-10 mm

4 x M3 / 5 mm

2. Software installation

Let's start with the installation of the software. First of all, we need to upload the firmware/software.

2.1 Install software

Download the Our imager from the website here, install it and choose the following settings.

  • SMT32-S3 Model: Waveshare SMT32-S3 2in
  • Operating system: Aurdino
  • SD card: Select the SD card

Attention

Make sure that you have selected the operating system version “Bullseye”, otherwise the OnOff SHIM will run incorrectly.

2.2 Identify IP address

To be able to access the Raspberry, you need the IP address. You can search for the device “gusi” in your router and note the IP, or you can use your computer’s console (CMD in Windows, Terminal in Mac and Linux). Enter the following command and confirm with the ENTER key:

ping gusi.local

If the request is successful, you should be able to read out the IP address of the radio. In my example:
64 bytes from 192.168.1.22: icmp_seq=8 ttl=64 time=5.323 ms

2.3. SSH connection

Open the console (CMD or Terminal) on your computer and enter the command to connect via SSH. Replace the example IP with yours!

ssh gusi@192.168.1.22

2.4. Activate sound card

In the configuration file of the Raspberry, we now activate the sound card and deactivate the Bluetooth module. The last is of course optional.

sudo nano /boot/config.txt

Place the following text at the end:


################## GUSI ################
# Disable Bluetooth
dtoverlay=pi3-disable-bt

# Enable Hifiberry Soundcard
dtoverlay=hifiberry-dac
							

Save the change with CTRL + X and confirm with Y and ENTER.

2.5. Install GuSi

1. Install the required packages to be able to operate the radio:

sudo apt-get update -y && sudo apt-get upgrade -y && sudo apt-get install -y git mpd mpc alsa-utils python3-pip python3-gpiozero hostapd dnsmasq

2. Clone the data from the Git project:

git clone https://github.com/earlmckay/gusi-radio.git

3. Start the installation script:

chmod +x /home/gusi/gusi-radio/setup_files/setup_gusi.sh && sudo /home/gusi/gusi-radio/setup_files/setup_gusi.sh

Select your preferred language and which model of the radio you are using (BM1K).

4. Install the Pimoroni OnOff SHIM. The component ensures that the Raspberry shuts down cleanly when it is switched off and starts up again when the on/off button is pressed again:

curl https://get.pimoroni.com/onoffshim | bash

Restart the device after the installation has been completed.
After the restart, the device is ready for operation and should already start playback.